How Many Steps Does It Take to Make an Edo Kiriko Glass?
How Many Steps Does It Take to Make an Edo Kiriko Glass?
The Quiet Precision Behind Every Cut
Introduction
Edo Kiriko is known for its finely cut patterns and gentle brilliance.
Though often admired for its beauty, the true value of Edo Kiriko lies in the work that happens before it reaches the hand: a process shaped by skill, attention, and generations of quiet dedication.
Below is a simple overview of how Edo Kiriko is made—from a blank piece of glass to a finished work of craftsmanship.
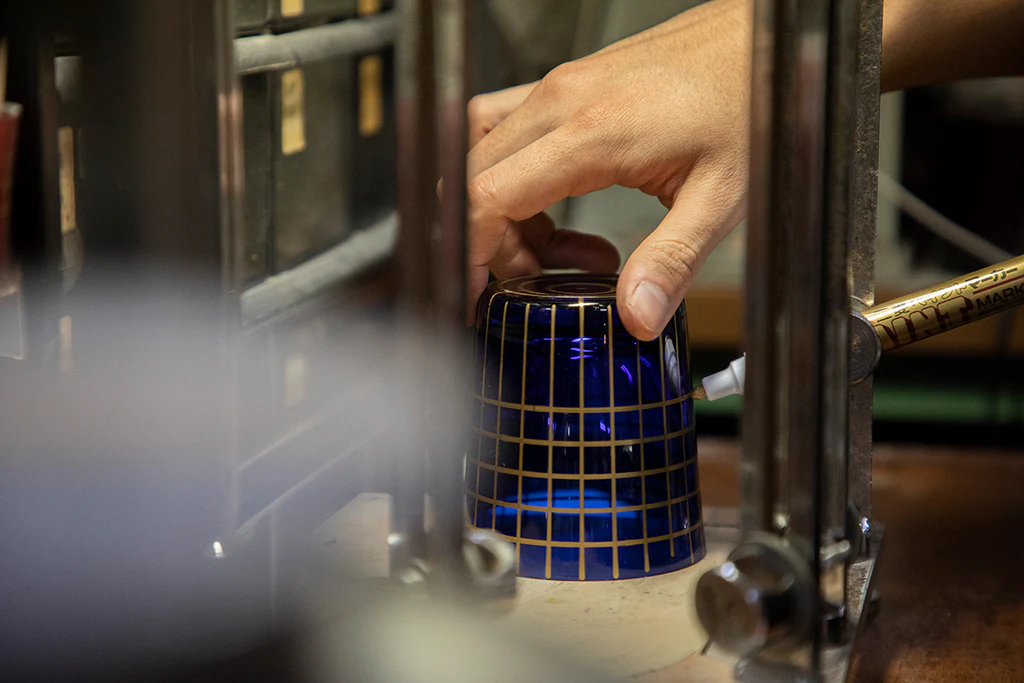
Step 1: Waridashi – Marking the Lines
The glass is placed on a rotating base called a bundodai, similar to a potter’s wheel.
With a marker, the craftsman draws thin reference lines—this is called waridashi.
These marks act as visual guides for the pattern layout. Even the pen tip used matters: if the line is too thick, it becomes difficult to cut with precision.
Every line must be centered and clean.

Step 2: Rough Cutting (Ara-kiri)
A coarse diamond wheel is used to make the first cuts.
This step carves out the basic shape of the pattern, following the guidelines drawn during waridashi.
The cutting is done carefully, but the goal here is to define form and depth rather than perfect finish.
The artisan presses the turning wheel against the glass to gradually shape the design.


Step 3: Fine Cutting (Shiage-kiri)
A finer wheel is now used to smooth out the rough edges left by the earlier cutting.
The same pattern is traced again, but with greater care and shallower pressure.
This step refines the clarity of each groove and polishes the pattern’s lines.
Depending on the glass and design, multiple wheel types may be used—each chosen to suit the detail.

Step 4: Pattern Detailing
Traditional motifs such as asanoha (hemp leaf), kagome (basket weave), and yarai (bamboo fence) are added at this stage.
More delicate, decorative elements are engraved using smaller diamond wheels or polishing heads.
Some designs are classical; others are original, created by each studio or artisan.


Step 5: Polishing and Finishing
After cutting, the glass surface is still rough.
Two main techniques are used for polishing:
-
Hand Polishing: Using cork, rubber, or bristle brushes, the craftsman traces the cuts to gradually smooth and brighten them. This traditional method allows for subtle control.
-
Acid Polishing: The glass is immersed in a chemical solution that dissolves roughness and enhances shine. This method is efficient for finishing multiple pieces at once.
Through these steps, the surface becomes clear and reflective. The cuts begin to catch and play with light.

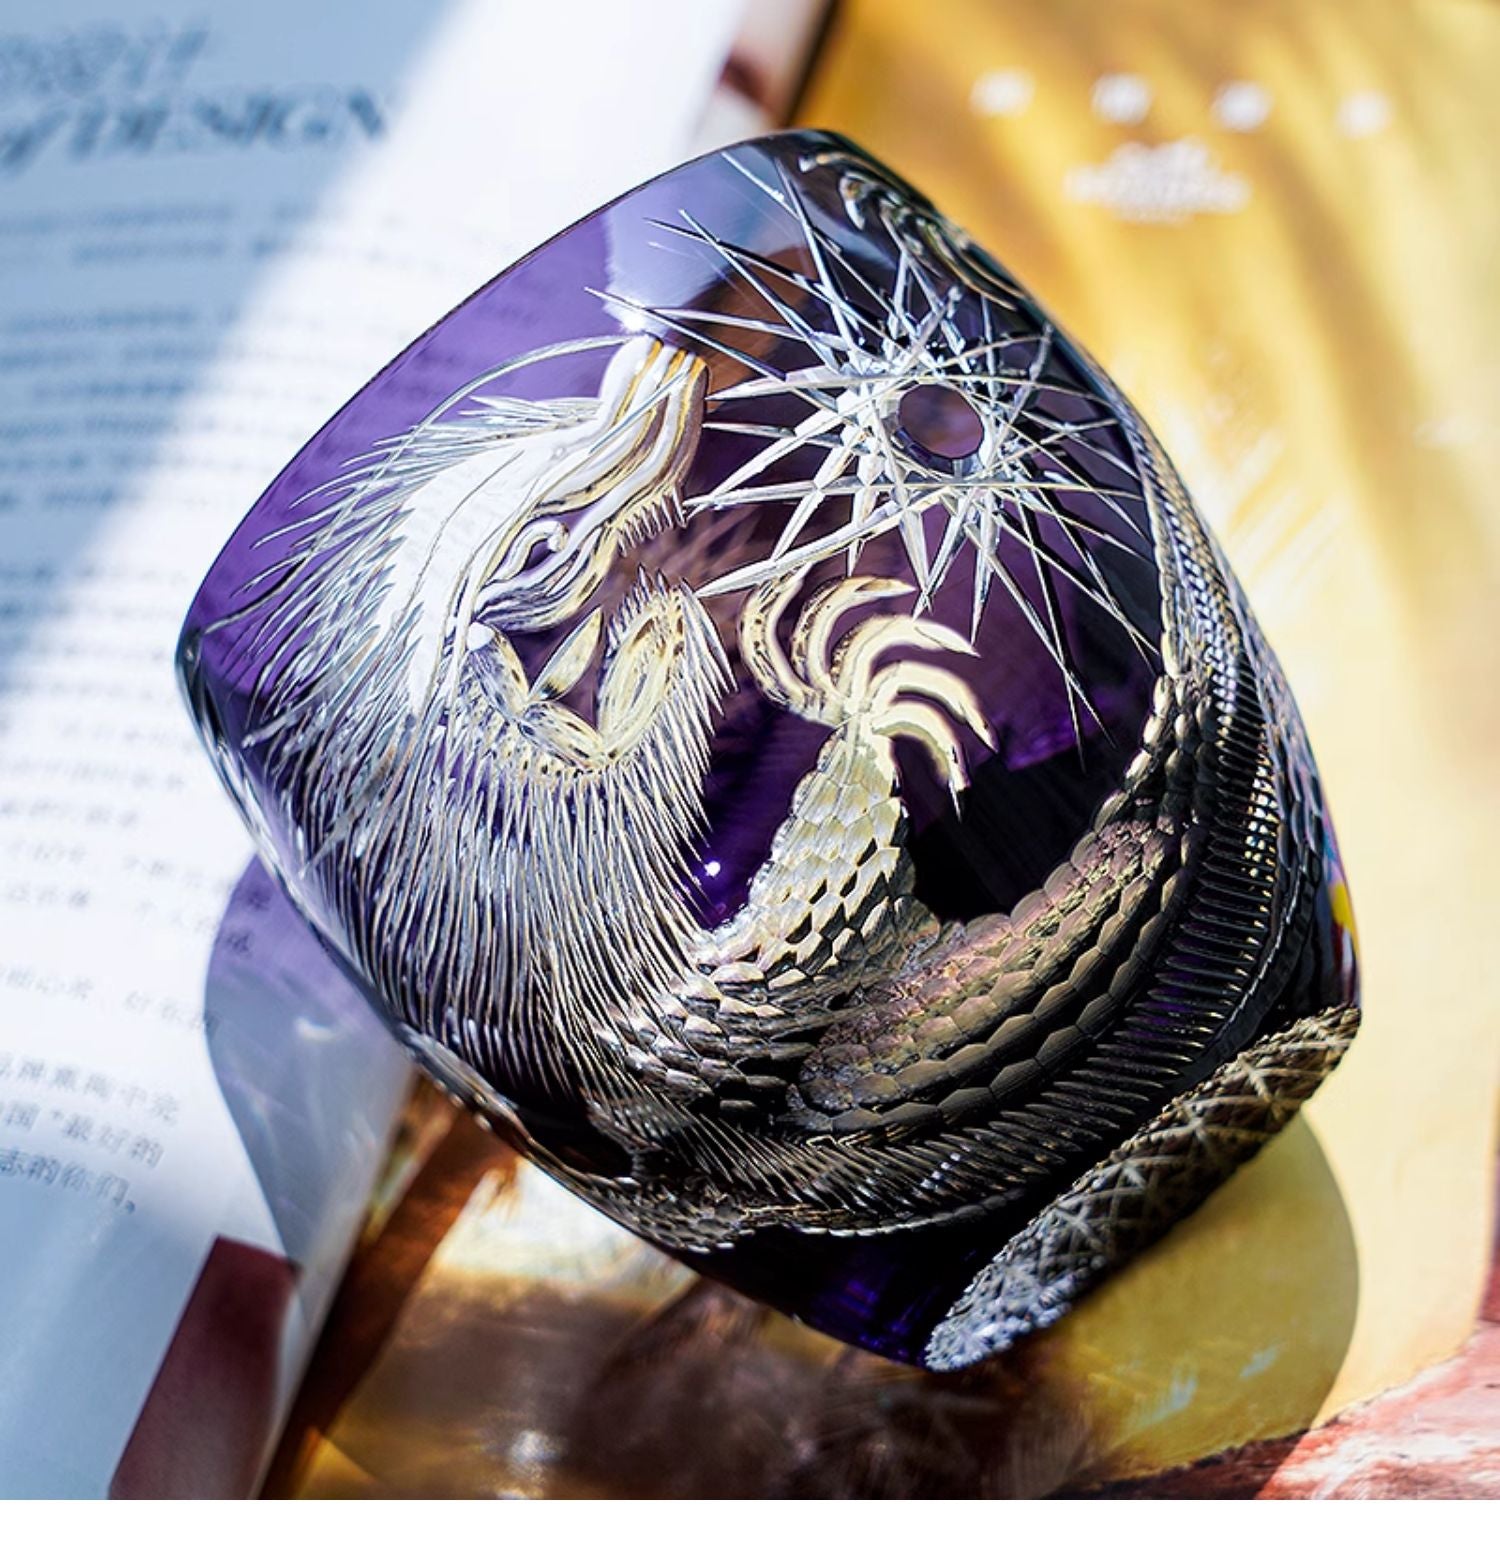
The Difficulty of Dark-Colored Glass
Some glasses—especially deep reds or blacks—are much harder to cut.
As the color becomes denser toward the base, it becomes difficult to see through the glass.
This makes alignment harder, since the artisan must judge from above without seeing the full blade or guide marks.
Working with such glass demands experience, touch, and a kind of intuition built over years.
The Artisan’s Mindset
In the words of one second-generation craftsman:
“We don’t cut corners at any stage,
because the next step depends on the one before.
Even the smallest detail—like a pen tip, or a bubble in the glass—must be handled carefully.
That’s how you get a good result.”
Edo Kiriko is not only about tools or technique.
It is about passing down knowledge through hands, and trusting that small decisions shape the final outcome.
Closing Thought
What appears as a simple drinking glass holds within it the careful attention of many hours, many decisions, and many quiet acts of respect toward the material.
Every cut is final.
Every pattern is a result of accumulated thought.
And every glass is slightly different—because it is made by human hands, not machines.
In a world of fast production, Edo Kiriko offers something else: work done without hurry, and beauty that comes from restraint.